Wyze Cam v3 Setup Guide step by step The best. Now better. It’s time to take Wyze Cam outside. All-new IP65 weather & dust resistance, and the
Wyze Cam v3 Setup Guide step by step
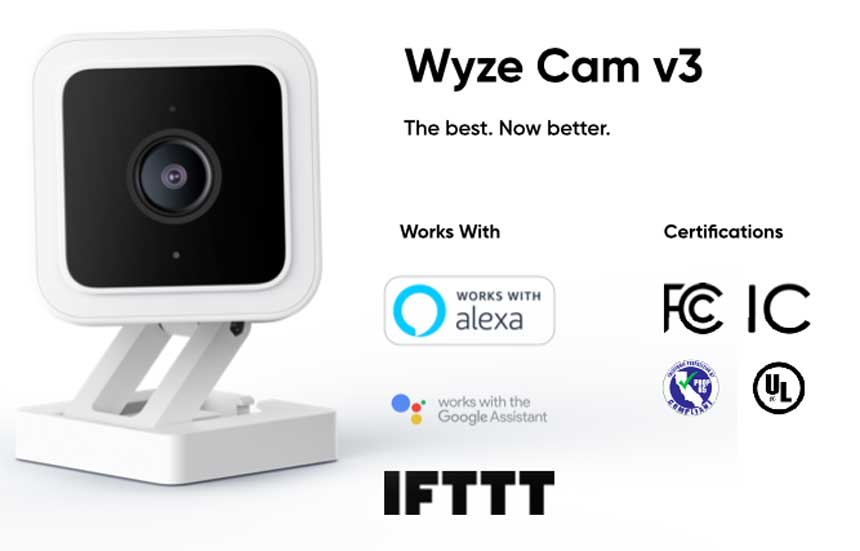
The best. Now better.
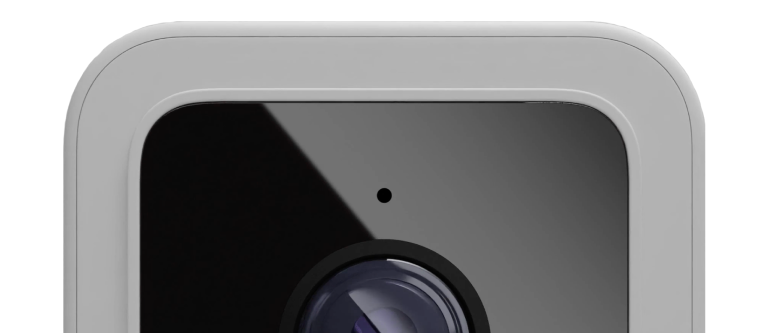
It's time to take Wyze Cam outside. All-new IP65 weather & dust resistance, and the Starlight sensor, truly lets you see everything around your home, inside and out, daytime and night.
Wyze Cam v3 features we’re excited about:
- Indoor / outdoor. IP65 weather resistance lets you capture moments from virtually anywhere.
- CMOS Starlight sensor. Reduces noise from low light, sees in environments up to 25x darker.
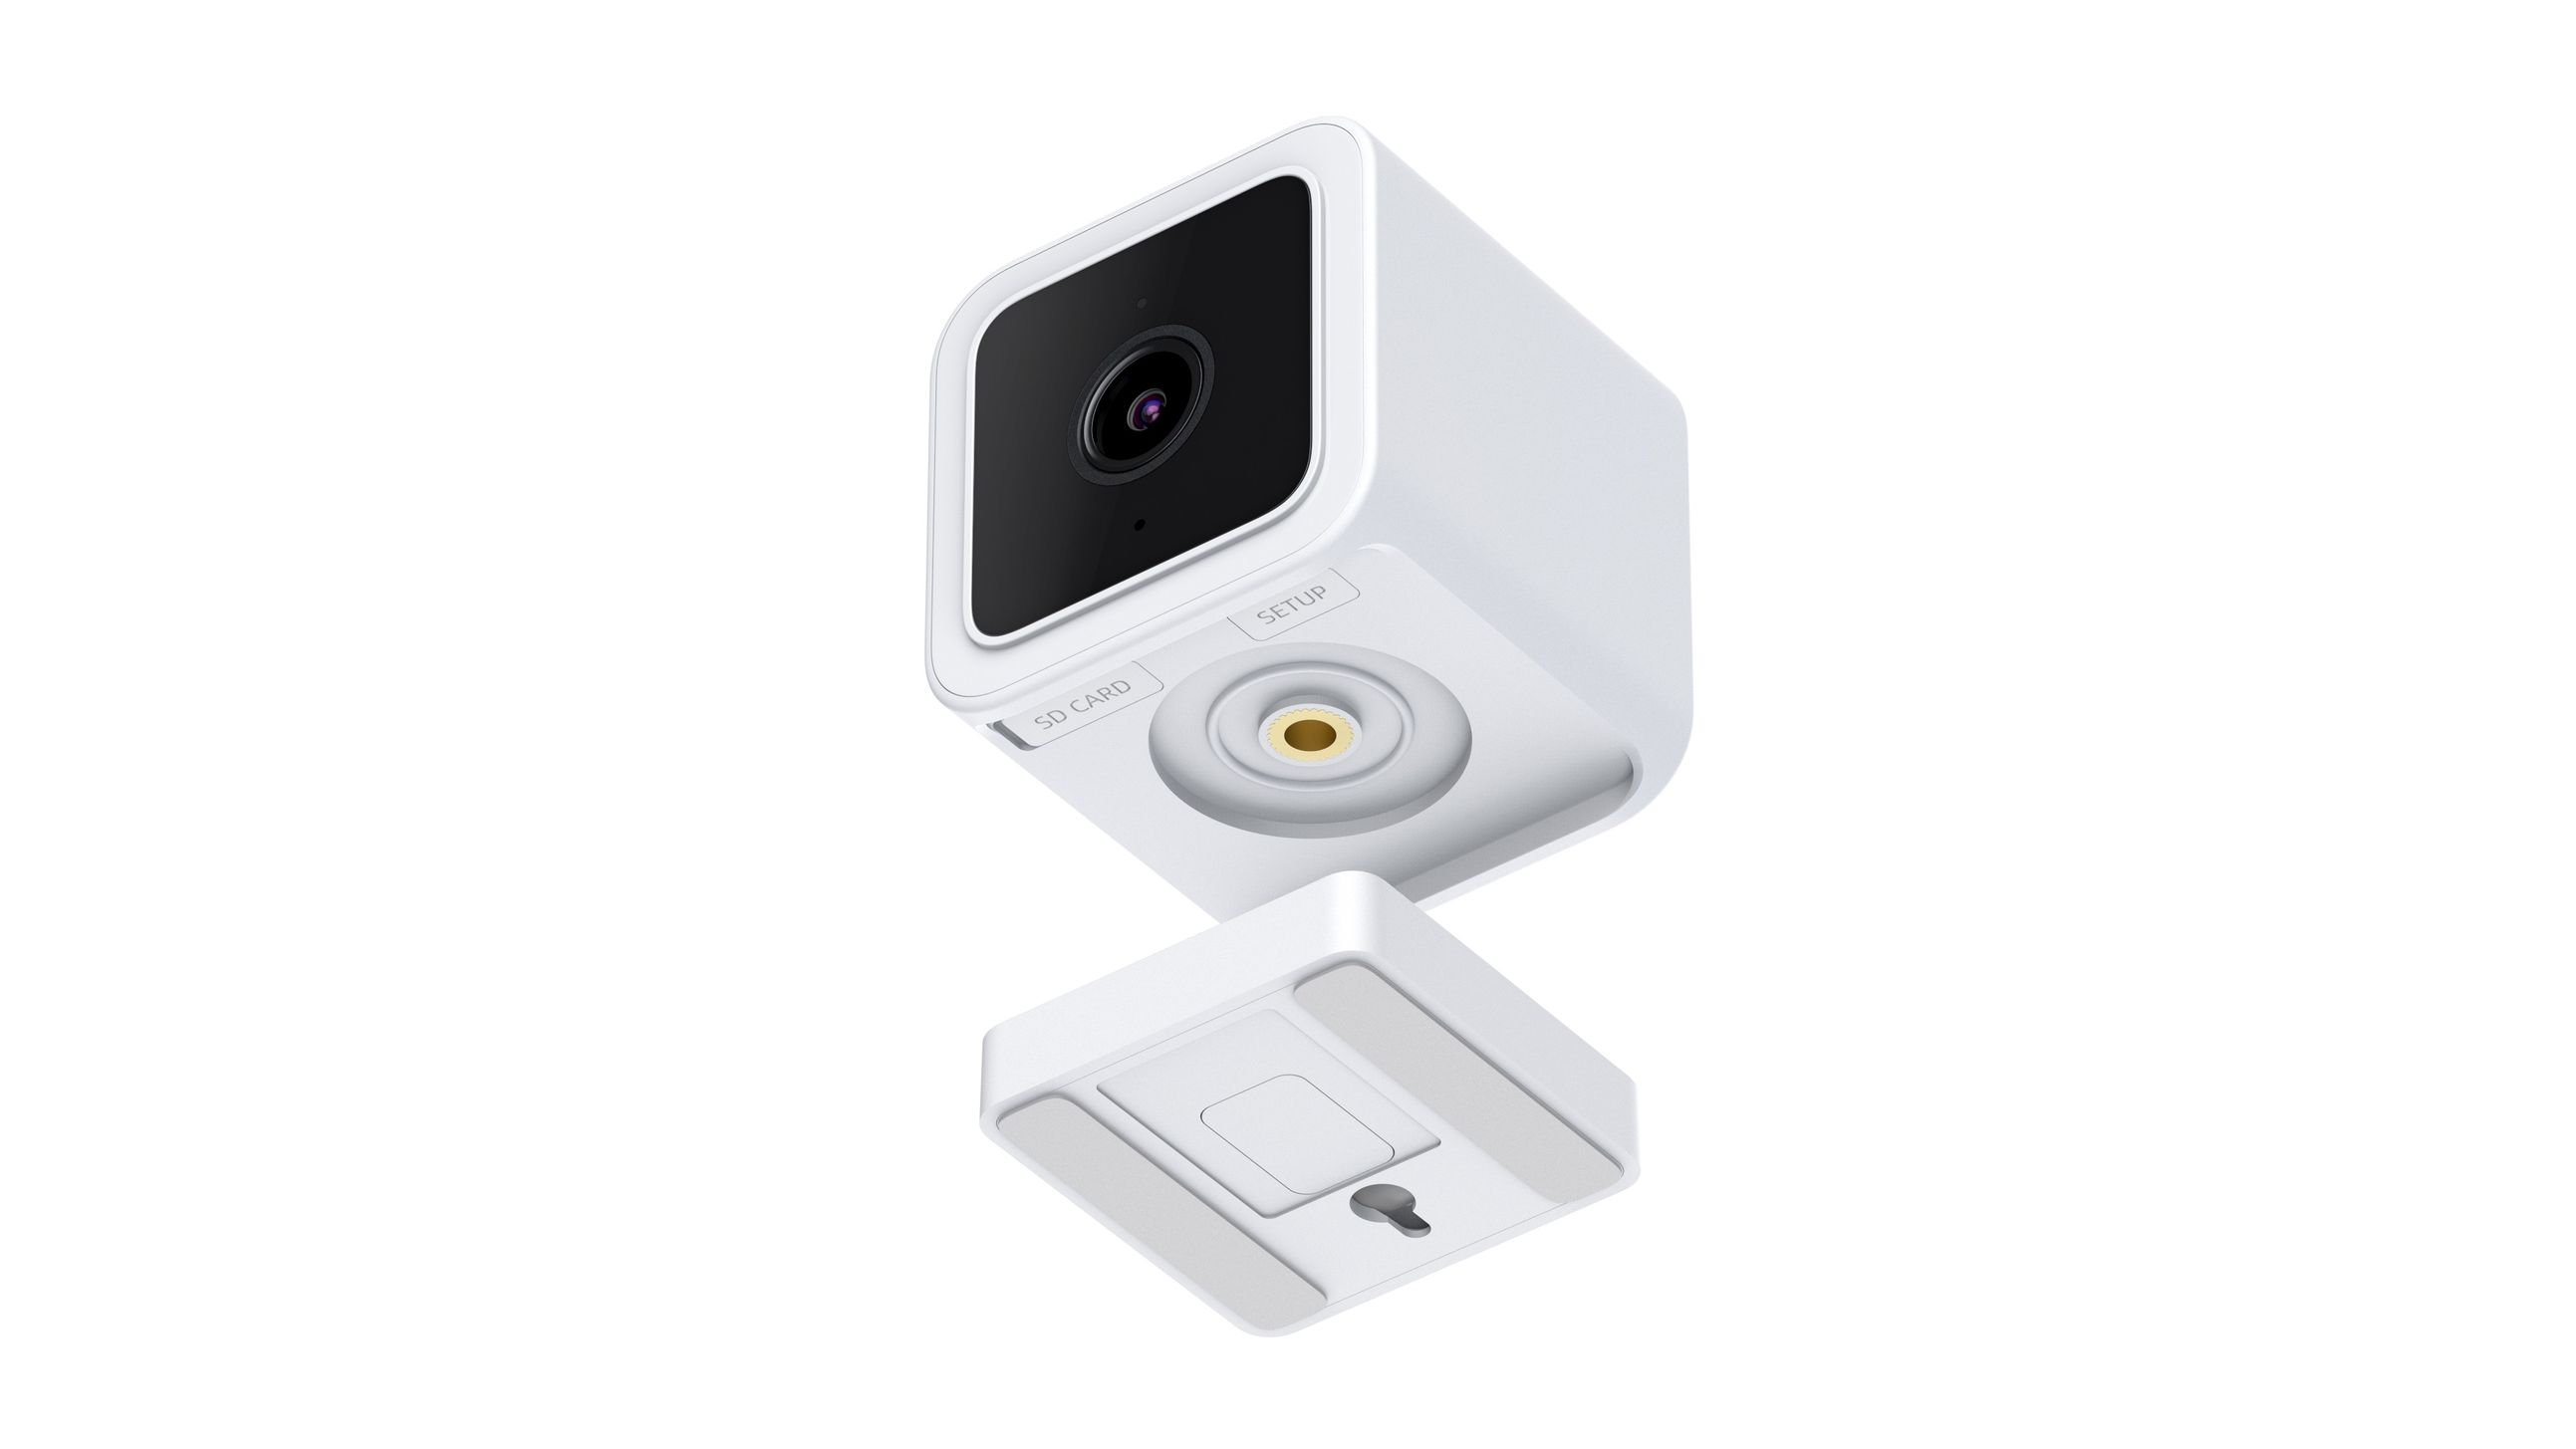
- Versatile mounting. Magnetic, screw, and 1/4 tripod mounting.
- Great image quality, day and night. 1080p Full HD.
- Adaptive IR lights: Invisible and visible IR lights.
- Color Night Vision. See clearly and in color at night in low light conditions.
- NEW! Accessories available. Outdoor adapter, Spotlight kit, Floodlight kit (TBD), and more.
- Siren. Deter bad actors with loud alarm you can trigger from the Wyze app.
- Cam Plus available. Provides Person, Pet, Vehicle, and Package detection.
Wyze Cam v3 Tech Specs
Before you begin setup:
- Download the Wyze app on your smartphone or tablet.
- Connect your device to a 2.4GHz WiFi network.
- Unpack your Wyze Cam v3 box, removing all plastic and packing materials.
- Plug the camera into power using the included USB cable and power adapter.
- The camera's status light will turn solid red when powered. When flashing, it's ready for setup.
To set up your Wyze Cam v3:
- In the Wyze app, tap Home, then tap + plus sign on the top left.
- Tap Add Device.
- Tap Cameras > Wyze Cam v3.
- With your camera plugged into an outlet, tap Next in the app.
- Pull the base from your camera and single-press SETUP under the camera. It will say “Ready to connect”
- In the app, check the box next to “I heard, “Ready to connect”.”
- Tap Next.
- Select your 2.4GHz WiFi network and enter your network password. Tap Next.
- Tap the icon in the password field to display the password to ensure it was entered correctly.
- Scan the QR code on the Wyze app.
- Hold your camera up to your phone screen with the QR code displaying. It will say “QR code scanned please wait.” then “Setup completed.”
- In the app, check the box next to “I heard, “QR code scanned”.”
- Tap Next. You're set up, it's time to name your device.
- Name your Wyze Cam v3 using the text field, or by choosing a suggestion.
- Tap Finish when done.
- If you want to share your device, tap Share Device.
- If not, tap Maybe later.
Additional Notes:
- Wyze devices only work on 2.4GHz WiFi networks. If you are connected to a 5GHz network, switch to a 2.4GHz network before setting up your device.
- Having trouble scanning your QR code? A few tips to help:
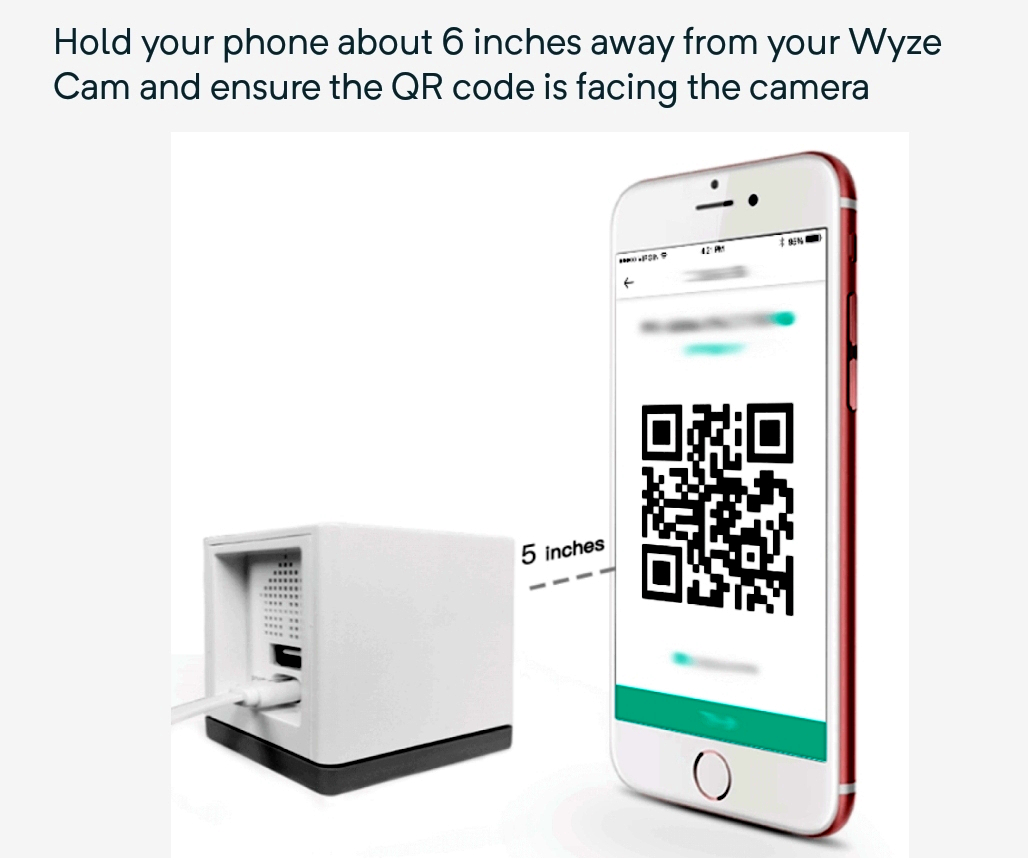
- Hold your camera 6-10 inches away from your phone screen.
- Slowly move the on the screen away from the camera, then closer.
- Tilt your phone screen slightly in case there's a glare.
- Turn your phone upside down.
- If you're on iOS, turn off “Invert Colors”.
- Make sure the QR code isn't distorted.
- If you have an older device, the screen may be too small. Try a different device.
- If your screen is cracked or scratched, the code may be distorted. Try a different device.
- If you're using a beta version of the Wyze app, make sure the cursor is not on the QR code


COMMENTS
please provide support for me i leave my email address
my recorder is not working
I am having trouble with the installation