ANSWER
This guide will explain how to export or copy files from the NVR’s HDD (Linux based) to a Windows PC. A ND8322P and Windows 7 PC will be used for this guide. Important note: turn the NVR OFF before extracting the HDD otherwise it could get damaged.
Steps:
Step 1. Connect the HDD to a Windows PC (you can use an external enclosure or connect it directly to the Mother board)
Step 2. Download a Linux reader to read ext4 files contained in the HDD, in this guide we will use Diskinternals Linux reader (Download link: http://www.diskinternals.com/download/Linux_Reader.exe ).
Step 3. After you open the Linux reader, it will automatically read all the drives connected to your PC
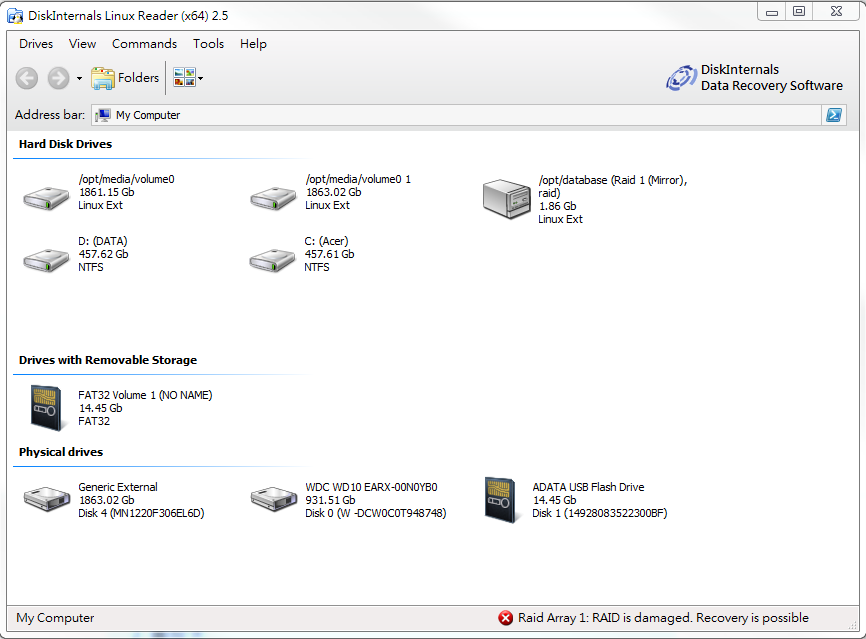

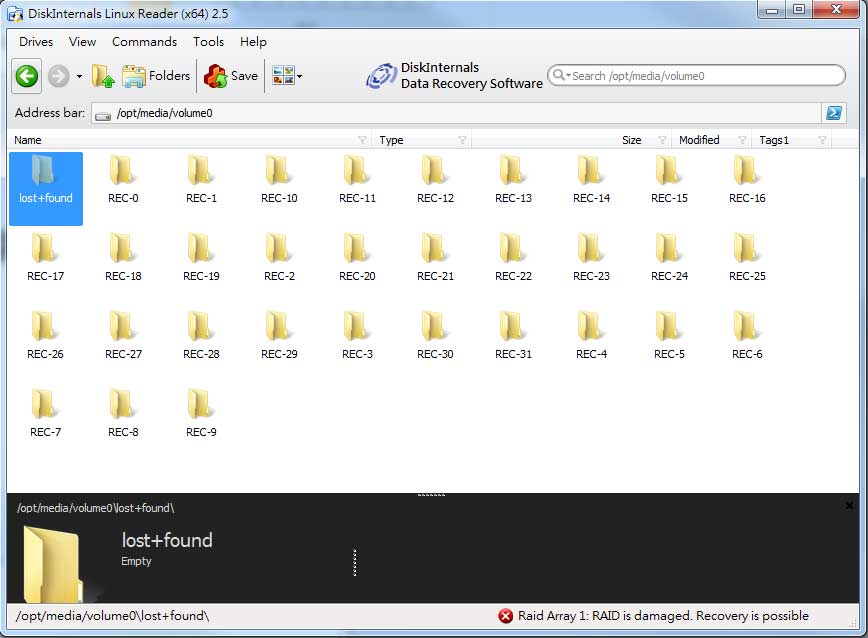
Step 5. One partition contains the media data in where all the videos are stored (/opt/medi/volume0) and one partition contains database information (/opt/database).
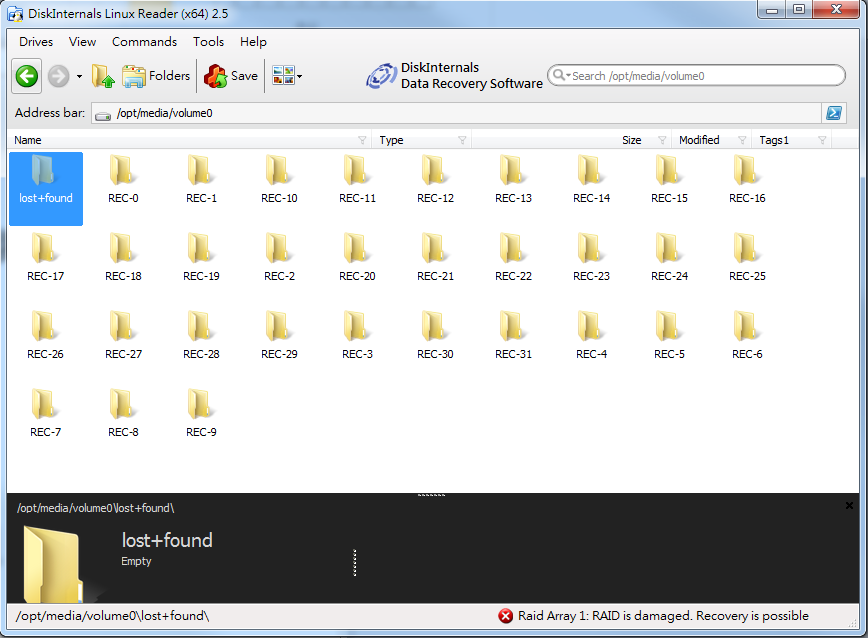
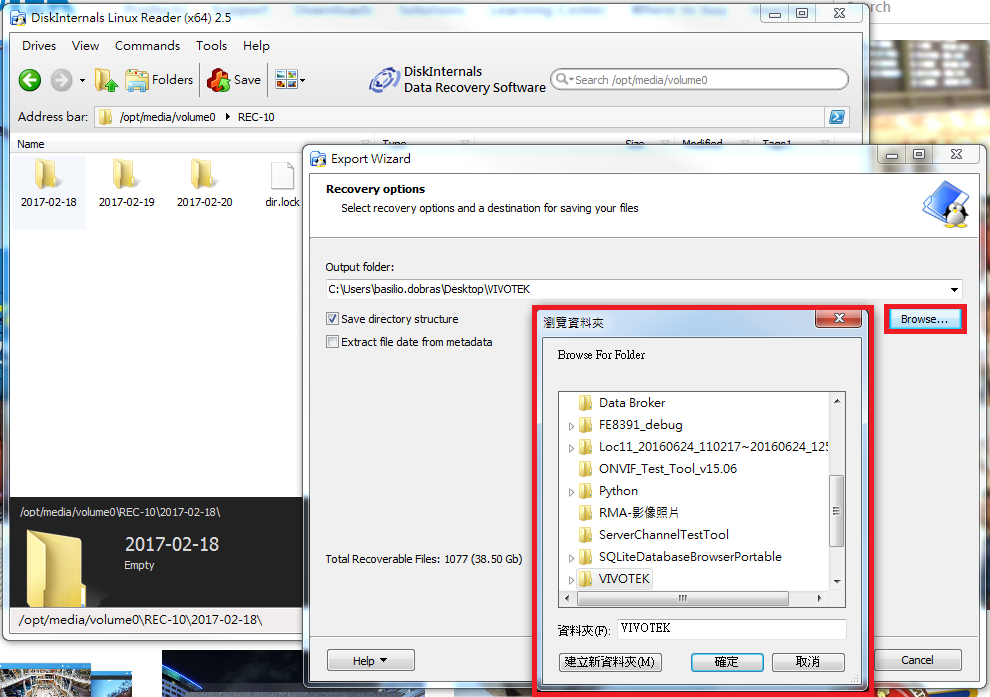
Step 6. After opening the /opt/medi/volume0 partition you will find multiple folders, each one containing the recordings accordingly to the camera numbers (Please see NVR camera number designation).
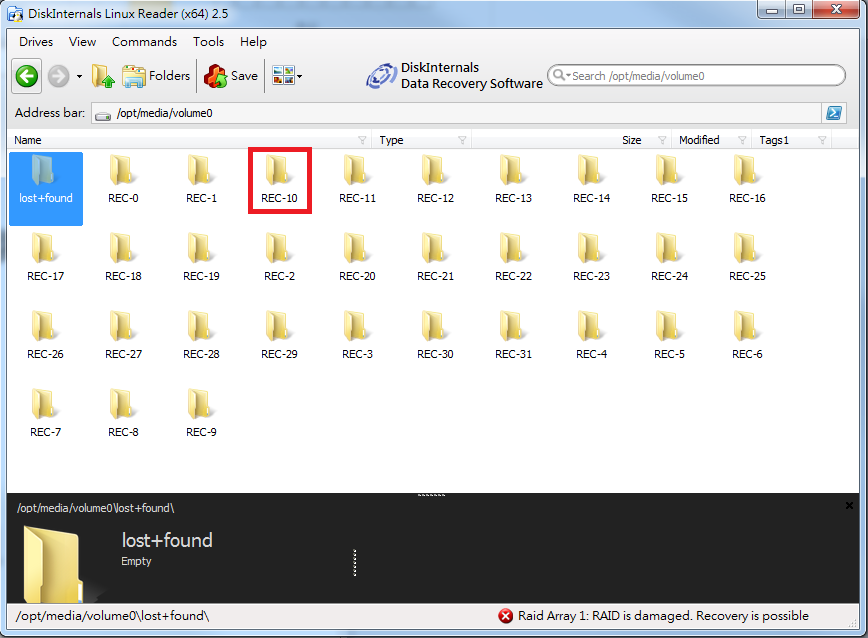
Step 7. For example, If you want to export the recordings of camera 11, open the REC-10 file (Note: Cameras are denominated starting from 0, not 1),
Then select the folder with the recording you are looking and click the “Save” button.
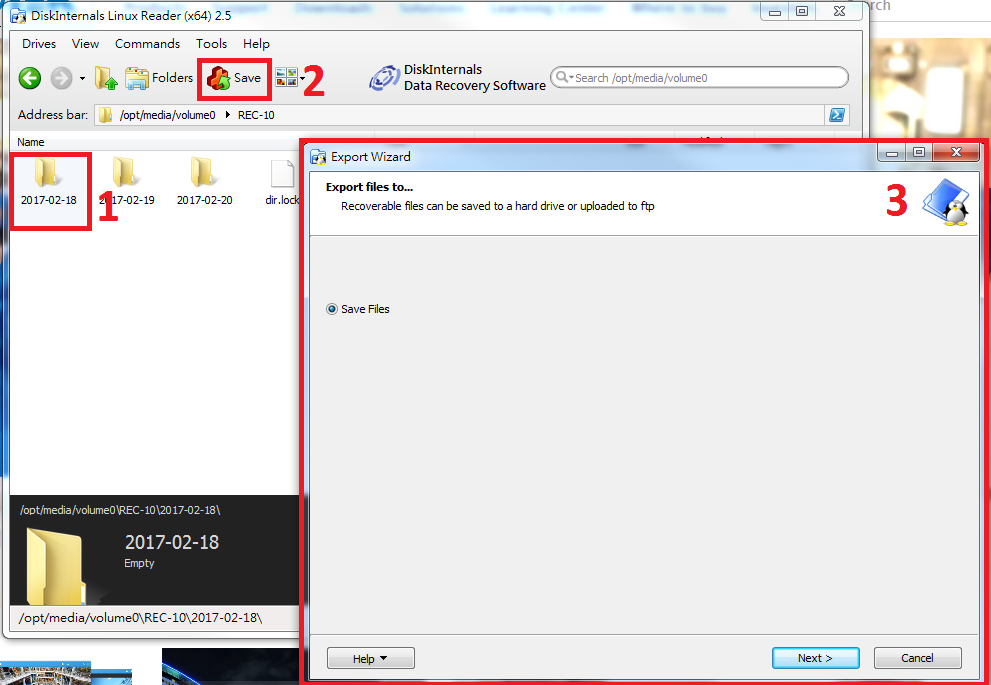
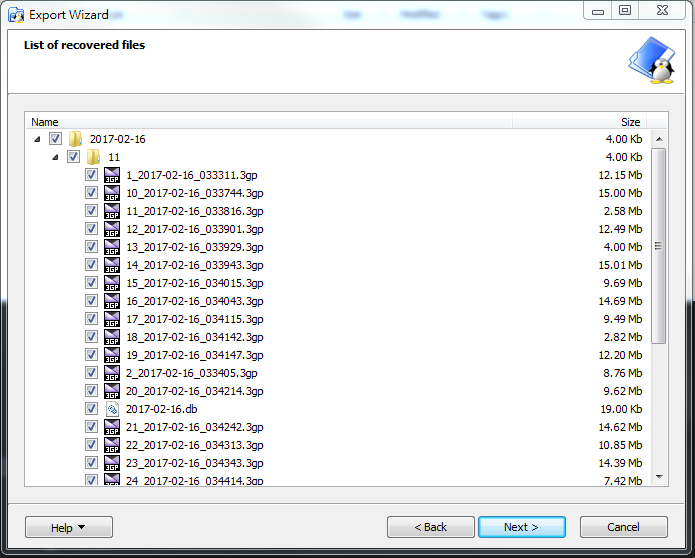
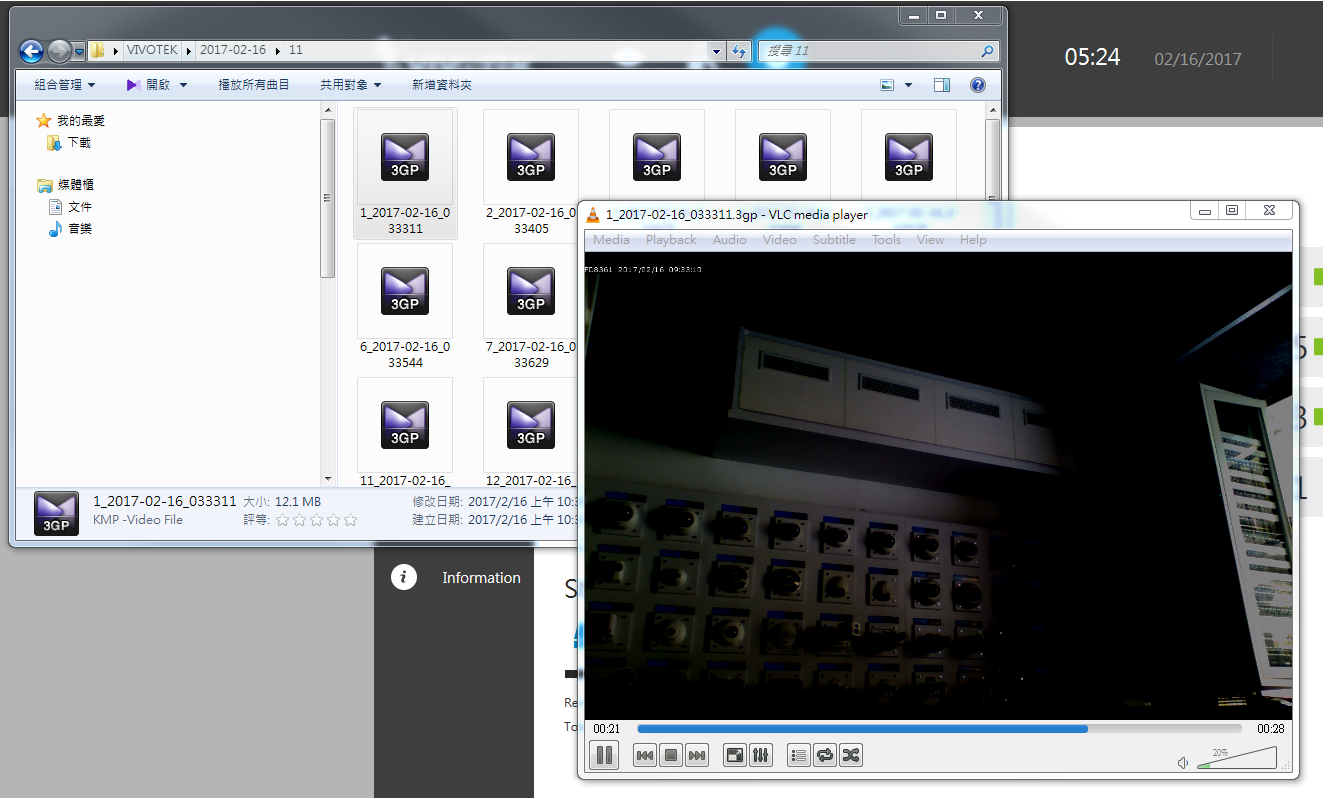
Step 8. Select a folder in where you want to save the recordings, then click the “Next” button.



please provide support for me i leave my email address
can you help me please
I am having trouble with the installation