

Note This FAQ is based on the mydlink app version 1.5.4 (build 109) from Android (v8.0.0). The iOS version may look a little different. T
Note This FAQ is based on the mydlink app version 1.5.4 (build 109) from Android (v8.0.0). The iOS version may look a little different.
To setup your camera with the mydlink app, follow the steps below:
Step 1: Launch the mydlink app. Log in with your mydlink account username and password. This will be the same username and password if you have used the mydlink Lite or mydlink Home app. If you have never created a mydlink account, you can create one.
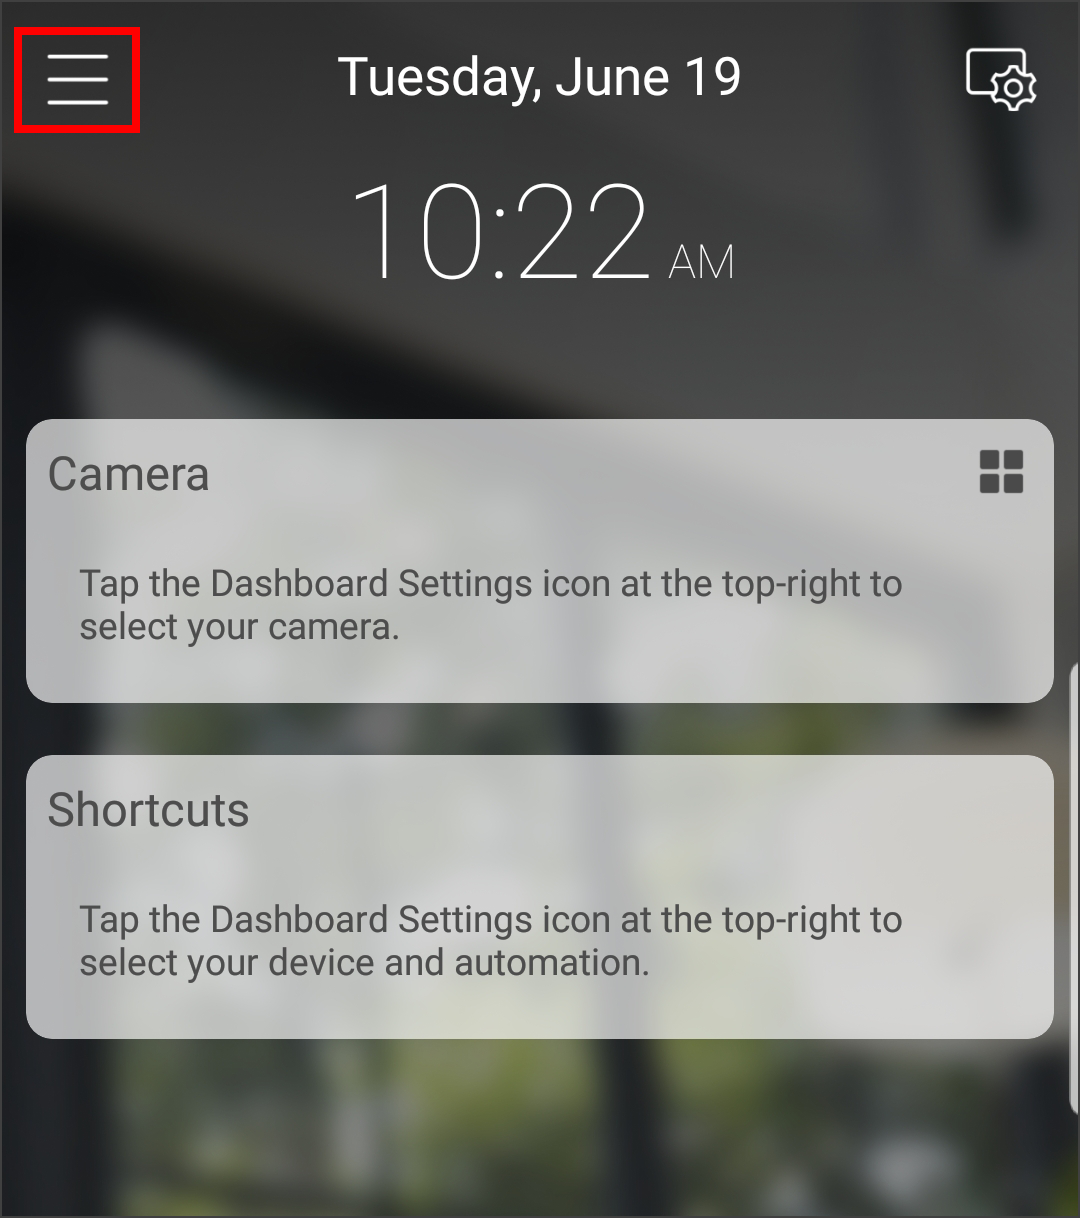
Step 2: Tap the settings icon (3 lines in the upper left corner).
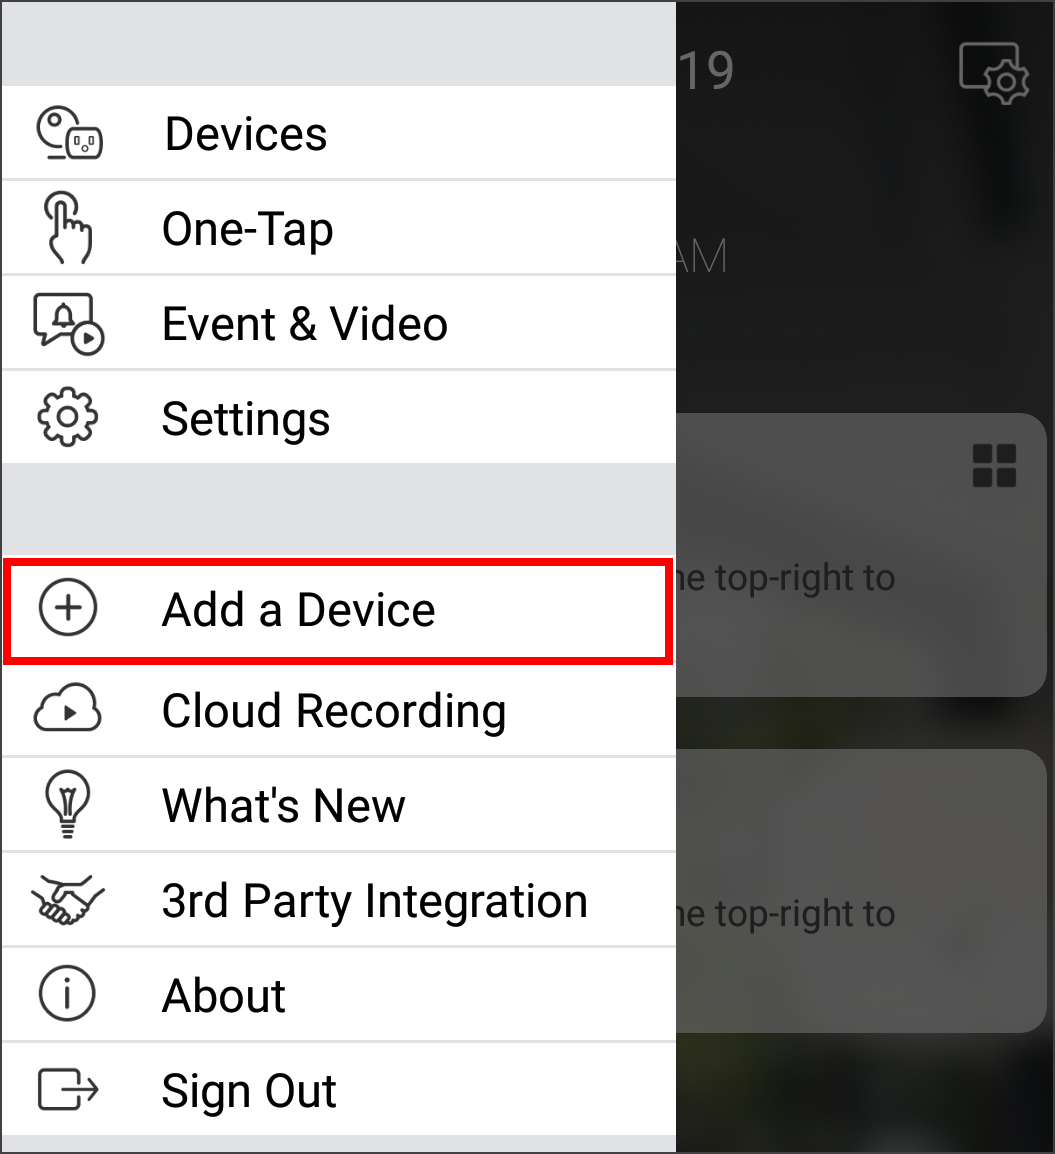
Step 3: Select Add a Device.
Step 4: Tap Yes to scan the QR code.The QR code is located on the label on the bottom of the camera or on the Wi-Fi configuration card included with the product. If the label or card are missing, tap No and select from the drop-down list.
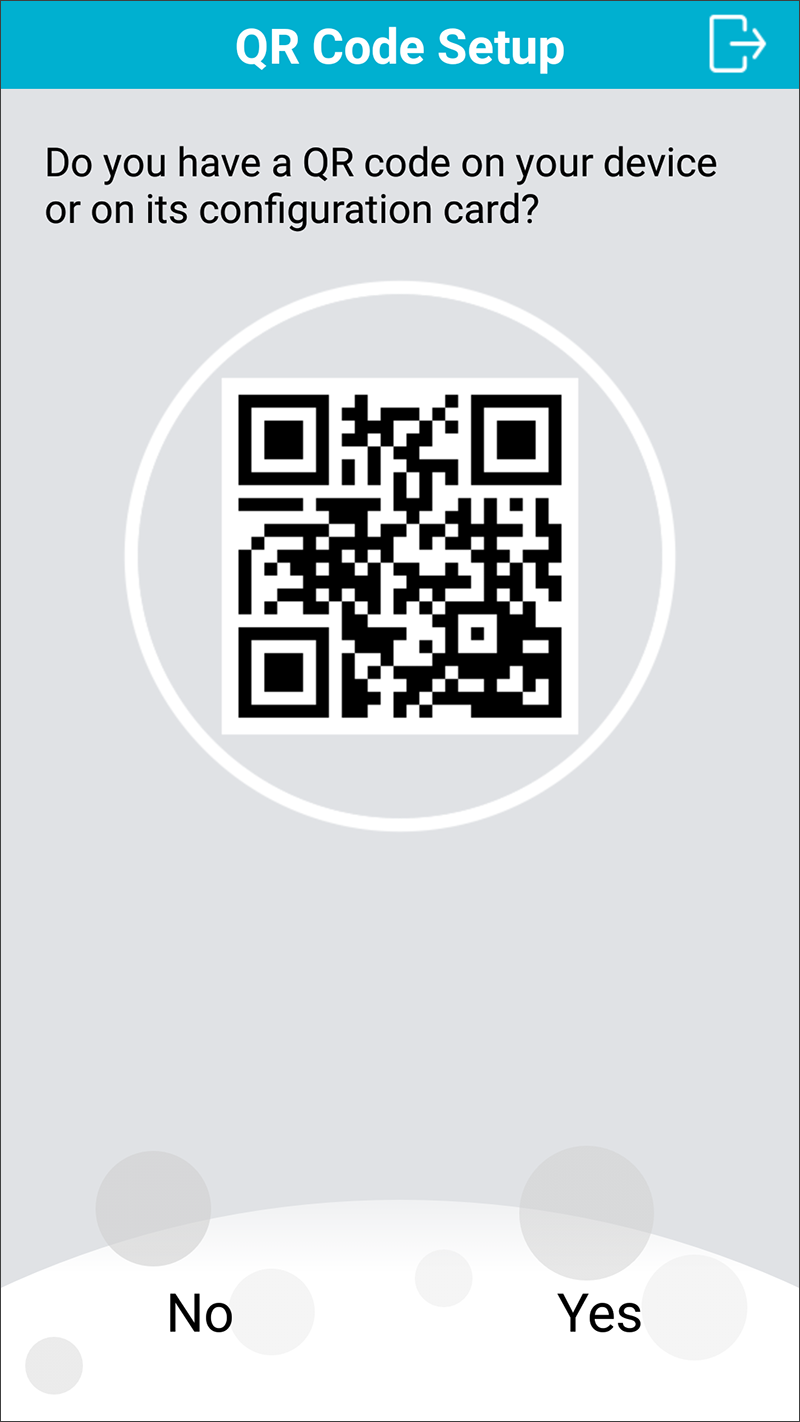
Step 5: If you tapped Yes, scan the QR code. If you are having trouble scanning the QR code, move to a brighter lit area. If you tapped No, select the camera model from the list.
Step 6: Tap Next. Please wait about a minute (or less).
Step 7: Tap Device Location to select where your camera will be setup. Select from the list or scroll to the bottom and tap Add Location to create your own.


Step 8: Tap Choose Your Wi-Fi Network. Select the WiFi network you want to connect the camera to (note this should be the same network that your mobile device running this app is on). Enter the Wi-Fi password and then tap Next.


Step 9: If you want this camera to be displayed on the “Home” screen, tap Add to Shortcut (checked by default). Tap Next at the bottom to continue.

Step 10: The camera will now save your Wi-Fi settings, and then bind to your mydlink account. This process can take up to 3 minutes.
Note: If you receive an error during the Setup Wi-Fi process, make sure you are entering the Wi-Fi password correctly. Remember it is case-sensitive. Also make sure the camera is within range of your wireless router, and that the router has DHCP enabled and does not have any filtering which may block the camera from connecting.
If you receive an error during the Binding process, this usually means the camera cannot connect to the mydlink servers. It is best to reboot your router, close the mydlink app, and reset the camera (hold a paperclip in the reset hole for 10 seconds and release. The LED on the back should turn red). Once your router has rebooted, open the mydlink app and set it the camera again. If you continue to get errors, please contact D-Link support at 1-877-453-5465. Support is free and available 24/7.
Step 11: Once the camera setup is finished, the following message will appear. If you want to add the camera to cloud recording, tap Yes, or tap Later.

Step 12: If you tapped Yes, a new Automation will be created to record video detected by motion to your cloud recording subscription (free or paid). Tap the check mark at the top right corner to finish setup.


COMMENTS
I am having trouble with the installation
hello nice sharing thanks
hello nice sharing thanks
please provide support for me i leave my email address
Can you write your contact number?